 Listen to the Podcast of This Blog Post
Whether used as wainscoting or to cover the entire wall, wood paneling can provide a beautiful touch to the rooms in your house.
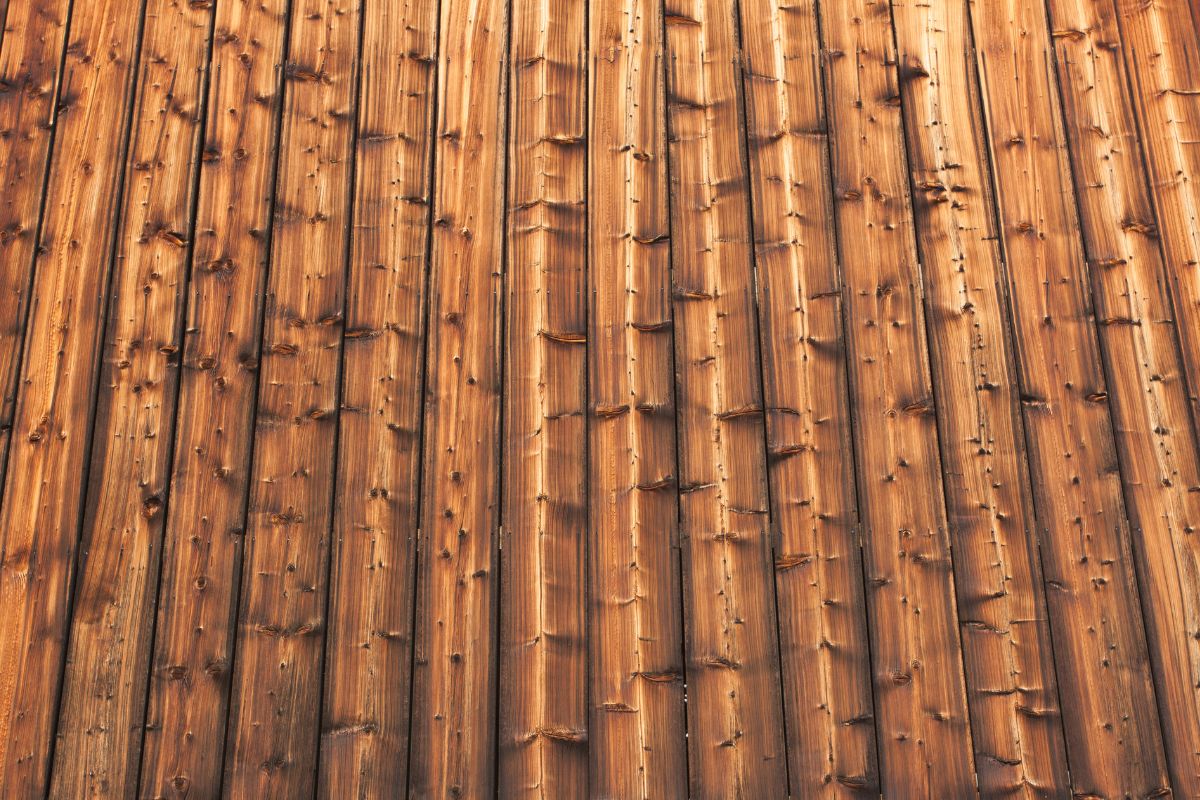
The perfect wood paneling may make all the difference in your home.
Working with paneling has certain challenges because it splinters easily while being cut, especially when using a circular saw blade for cutting paneling. For a comparison of cutting tools, you can check out What Can You Use To Cut A 2X4? for some insight into alternative cutting methods.
It is easy for more than one piece of paneling to get destroyed, or some quite strange-looking trim work can be applied to your walls due to the cuts not being clean.
The issue is how to cut paneling so that it appears to have been done by a professional rather than your children in the end.
In this article, we will be discussing how to cut wood paneling with a utility knife to avoid your wood splintering.
Why Use Wood Panels In Your Home?
A combination of several types of wood are used to make wood paneling.
The benefit of using different kinds of wood to make paneling is that you may choose from a wide range of paneling styles.
For more on wood-related tools, check out 5 PVC Pipe Cutters You Must Have for tools that complement cutting wood.
Wallpaper and paint are less durable than wood paneling.
Due to the fact that it is made up of components from sustainably managed, artificial forests, it is also the most environmentally friendly option.
Whether you're trying to achieve an exquisite look or something more relaxed and domestic. Wood paneling can help give your family a warm, cozy feeling.
Even in new buildings, wooden wall paneling is typically put over drywall that already exists.
The reason for this is that while a typical wood panel is only 14" thick, it lacks the rigidity and structural strength needed to stand alone.
Instead, it is designed with the intention of being supported over another substrate.
Hence, you will find that a lot of homes use this wood to help make your home look aesthetically more pleasing.
What Can You Use To Cut Wood Panels With?
You’ve got options when it comes to cutting paneling, circular saws, table saws, jigsaws, and yes, the good old utility knife.
Power saws have their place, but here’s the downside, one wrong flick and you’ll splinter the surface or chew up that perfect finish you just paid for. If you want a clean cut without the sawdust storm, a utility knife is your secret weapon. It scores and snaps panels without leaving the kind of mess that makes your other half question your DIY skills.
For the smoothest cut with any tool, you want a blade with short, sharp teeth, but when it comes to preventing splintering altogether, the utility knife wins hands down.
How To Cut Wood Paneling Using A Utility Knife
The scoring-and-snapping method might sound simple, and it is, but there’s a bit of technique involved. Here’s how to nail it like a pro.
What Will You Need:
- Utility knife with a brand-new sharp blade
- Pencil for marking your cut lines
- Straight metal edge (a ruler or level works)
Step 1: Mark Your Cut
You’ve heard the saying: “measure twice, cut once.” It exists for a reason. Use your pencil to mark exactly where you want to cut.
The last thing you need is to trim the panel twice and still end up short, especially when the local hardware store is closed and you’re one panel shy of finishing the job.
Step 2: Position Your Straight Edge
Line up your metal straight edge with the marks. Press down firmly with one hand. If that straight edge wobbles while you’re scoring, you’ll end up with a wonky cut, and nobody wants to re-cut expensive wood paneling because their straight edge slipped.
Step 3: Score The Panel

You’re not hacking through the panel in one go. The trick is to score the wood on both sides. Place the tip of your utility knife at the start of your line, angling it slightly towards the straight edge. Glide it along in one smooth motion. This first pass just scratches the surface.
Step 4: Apply Light Pressure
Go again, this time with a bit more pressure. You’re aiming for a deeper, cleaner score. After the second pass, you can ditch the straight edge and keep scoring along the same line, four or five times, until you’ve cut deep into the panel’s core. You don’t need to saw, let the blade do the work.
Step 5: Repeat The Process On The Other Side
Flip the panel over and transfer your cut line to the back. Use your pencil to extend the line across the edge so it matches perfectly. Score this side the same way, starting light, then going deeper.
Matching score lines on both sides creates a weak point so the panel will snap cleanly without splintering.
Step 6: Snap The Wood Panel
Here’s the fun bit. Hold one end of the panel steady on your work surface and gently lift the other end. The panel will snap along the score lines, giving you a smooth, professional edge. No splinters, no jagged edges, just a crisp cut that looks like it came from a factory.
Cutting A Curve With A Utility Knife
Straight cuts are easy. Curves? That’s a different story. For rounded shapes or tricky cut-outs:
- Mark and score the back side of the panel first, the scrap side.
- Lay down a strip of painter’s tape right along the cut line to minimise splintering.
- If the curve is tight, a jigsaw or circular saw might be your best bet. Go slow and steady for a clean curve.
The painter’s tape trick is a lifesaver, it holds the wood fibres together while you cut, leaving you with a smoother finish.
Pro Tips For A Cleaner Cut
- Fresh blade, always. A dull knife will tear rather than slice, and you’ll be cursing your way to a sanding job.
- Keep your grip firm. Let the knife glide, don’t force it. Heavy-handed cuts can wander off the line.
- Support your panel. Use sawhorses or a workbench so the panel doesn’t bow or bounce as you score.
- Score slowly. Rushing creates ragged edges. A few patient passes beat one reckless shove.
These little habits separate the weekend warriors from the pros.
Why a Utility Knife Beats a Saw for Paneling
Sure, a circular saw or table saw can cut wood paneling, but they’re loud, dusty and notorious for splintering those delicate surface veneers.
A utility knife, on the other hand, is quiet, precise and clean. No power cords, no ear defenders, and you can work inside without covering the lounge in sawdust. It’s also safer, especially in tight spaces or when you’re working solo.
Plus, you don’t need to be a tool geek to master it. If you can hold a pencil, you can score and snap paneling like a pro.
Conclusion
Cutting wood paneling doesn’t have to be a splinter-filled nightmare. With a utility knife and a little know-how, you’ll get clean, professional cuts, and keep your walls looking sharp.
Mark and measure carefully.
Score lightly at first, then deepen the cut.
Score both sides before snapping.
Tape and jigsaw for curves when needed.
Follow these steps and you’ll spend less time sanding splinters and more time admiring those slick, timber-clad walls.
Forget the roar of the circular saw, sometimes the simplest tool in the shed really does the best job.