
If you have ever completed any DIY jobs, then you will know just how handy an electric drill is. They can really speed up the process and are amazing for jobs where you are really struggling to penetrate the material manually.
However, when it comes to electric drills, there is one task that can often be a little difficult. That task is changing the drill bit—especially when switching between different types of drill bits for specific materials like metal, wood, or tile.
This is especially difficult when the drill is brand new, and the different components are yet to be broken in.
In this guide, we’ll be telling you exactly how to change a drill bit (spoiler alert: it isn’t as difficult as you might think). So, if you want to find out how to do this, keep on reading!
What Is A Drill Bit?
Before we dive into the step-by-step guide, let’s take a very quick look at what a drill bit is. As the name suggests, a drill bit is a bit that fits into your drill.
The drill bit is very important because it is this part of the drill that will actually be drilling into the material.
There are all sorts of different drill bits out there, and different bits will be better suited for different jobs. Drill bits come in all different shapes and sizes, and they can easily be swapped out depending on what task you are working on.
Most electric power tools will come with a handful of drill bits, and you will likely be able to purchase additional drill bits from the manufacturer.
Now that we have established that, let’s dive right into a step-by-step guide to changing your drill bit.
How To Change A Drill Bit
There are two different types of drill that you might find yourself working with: a keyless drill and a drill with a chuck key. Fortunately, it only takes just a few minutes to change the drill bits. We’ll tell you how to change both.
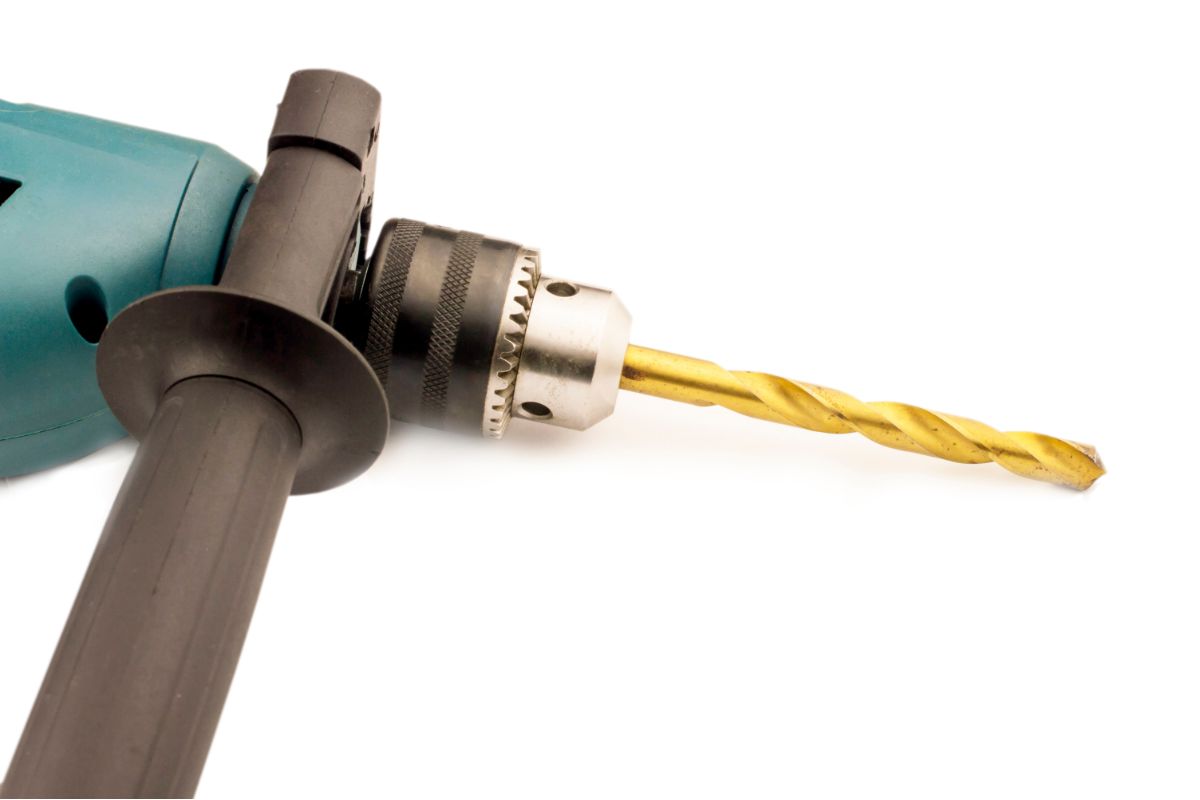
A Drill With A Chuck Key
Step One
The first thing that you need to do is insert the chuck key into the hole. Most drills will come with a chuck key if they need one. With this in your hands, insert the keyed chuck so that the teeth of the chuck match the teeth on the key.
You will be able to feel when the chuck key has slotted into place, once you feel this you should turn the chuck key counterclockwise. As you do this, the chuck jaws will begin to open.
Step Two
Once the chuck has opened enough to simply slide the bit out, you can remove your chuck key and the drill bit. You should remove the drill bit using your forefinger and thumb. Before you pop it back in your drill bit case, check for any sign of damage.
Step Three
Select your new drill bit from your drill bit case and pop it into the drill while the chucks are open. Hold the bit with your forefinger and thumb and push it in until the drill bit feels safe and secure.
Step Four
Insert your chuck key back into the hole at the top of your drill and turn it clockwise, keep holding onto the drill bit while you do this. As you turn the chuck key, you should feel the drill bit begin to feel more secure in your hand.
Continue to turn the chuck key clockwise until it will turn no more, when this happens, your new drill bit will be fitted.
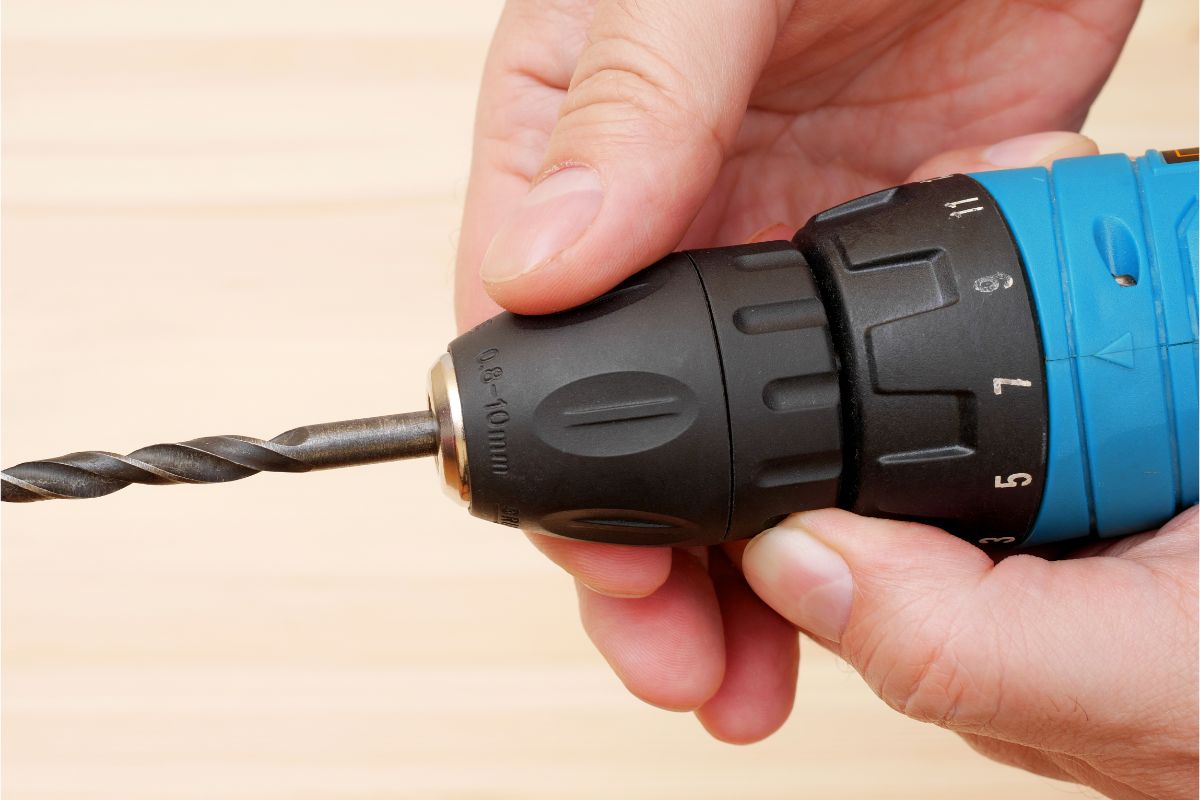
A Keyless Drill
Step One
With a keyless chuck drill, loosening the chuck is a little easier than with a keyed chuck drill because all you have to do is twist it.
The chuck is the piece at the end of the drill that can be turned both clockwise and counterclockwise, depending on whether you are loosening or tightening it.
Hold the drill with your one hand, and turn the chuck with your other hand. To loosen the chuck, you will need to twist it counterclockwise.
Some people also choose to do this by holding onto the chuck with one hand, and lightly pressing on the trigger with the other. It might be worth trying this if the chuck feels particularly tight.
Step Two
Once the chuck has been loosened, you will simply be able to pull the drill bit out of the chuck. Inspect this drill bit for damage, and then place it into your drill bit holder.
Then select the drill bit that you want to insert into your drill from the holder, and place it into the hole on the drill.
Step Three
Once you have selected your new drill bit, you will need to secure it in the chuck. Place it into the hole on the drill as far as it will go, and then pull it back about a centimeter.
While you are doing this, you should keep the fingers of your other hand on the chuck, securely holding this in place.
With your new drill bit held in place, you should try to hold the drill so that your hand is holding onto both the drill bit and the chuck.
The drill bit should be between your fingers, and the chuck should be in the palm of your hand. Don’t hold too tightly, a loose grip will do the job fine.
Once you have a decent grip on both the drill bit and the chuck, lightly pull on the trigger of the drill with your other hand.
Don’t squeeze continually, instead we would recommend squeezing in short, quick bursts. This will tighten the chuck, securing the drill bit in place.
Step Four
Some drills will require you to secure the ratcheting mechanism once your drill bit has been secured in the chuck.
To do this, simply grip the ratcheting mechanism (which is located next to the chuck) and twist until you feel it click into place.
Summary
In this guide, we have taken a look at how to change a drill bit, including a step-by-step guide with instructions on how to do this. This includes how to change a drill bit on a keyless drill and on a drill with a chuck-key—both of which are essential to understand when using your drill as a screwdriver for fastening tasks.
Thank you for reading!